
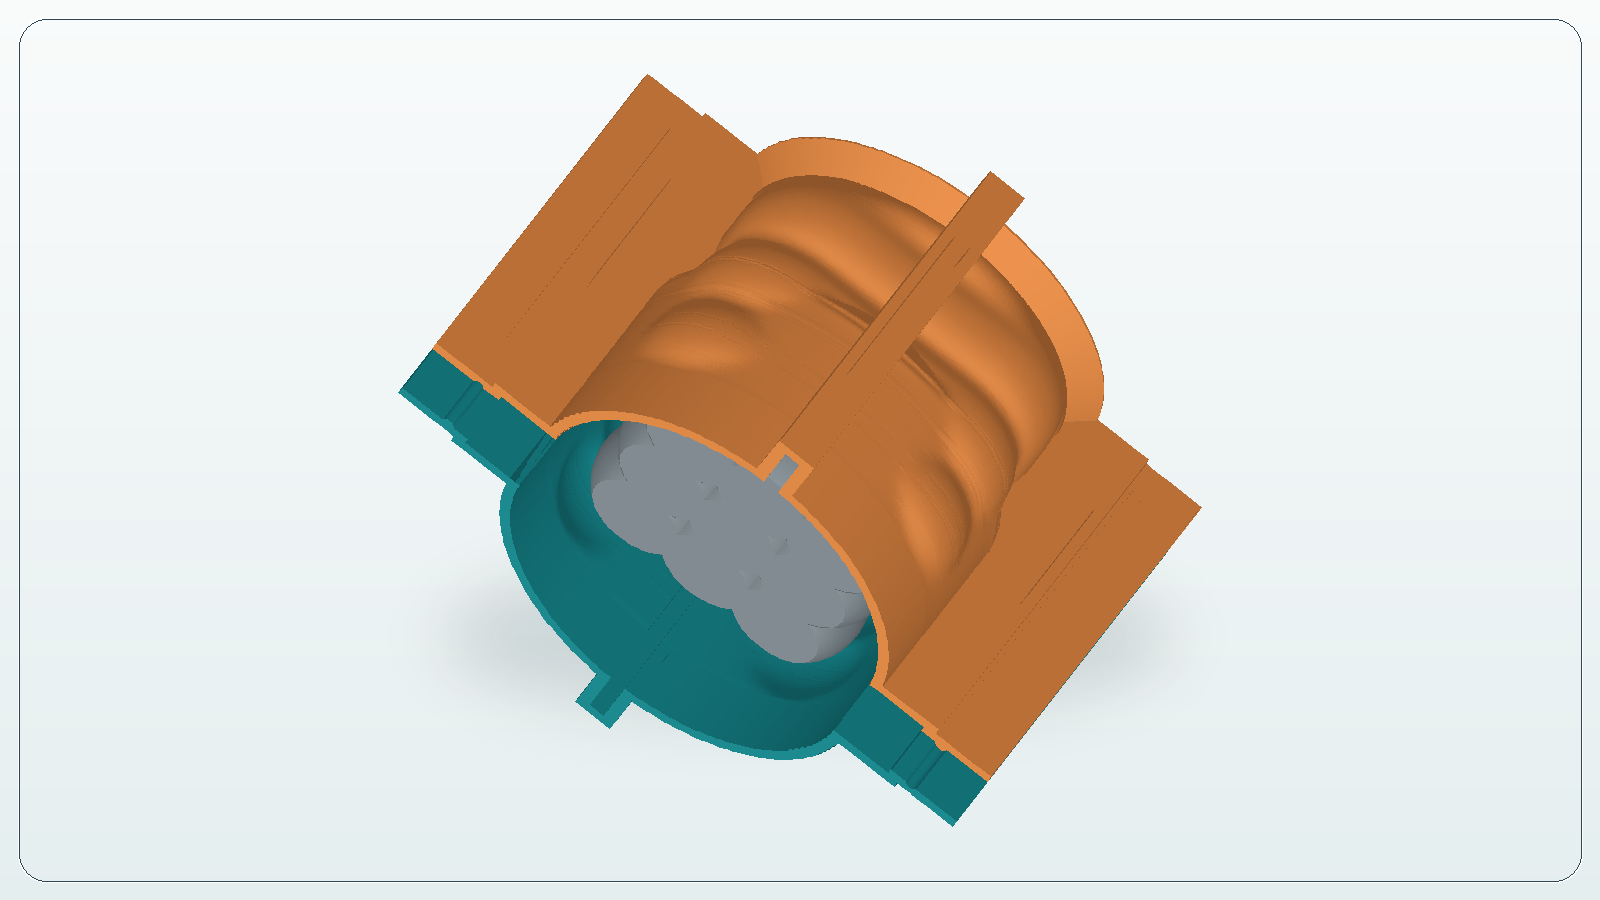
Say you have a printed figurine or candle master and want to make a silicone mold from it. Putting it in a box and pouring silicone sounds straightforward. And it can be. The annoying parts are using twice as much silicone as you needed, finding a leak halfway through the pour, or realizing the master has no sensible way out.
Before picking a box, figure out three things: the clearance around the master, how to hold the walls together, and how everything comes apart afterward. You can build the box by hand or print one from an STL. Neither option wins every time.
This is about a simple open pour around a master with a flat base. Handles, deep cavities, and complicated parting lines need more mold planning than a box can provide.
Do you actually need to print the box?
If you already have a container that fits, probably not. Check that it leaves enough clearance and that you can get the finished mold out. For a one-off job, that may be all you need.
A flat base with removable sheet walls is another option. The useful questions are whether the base sits flat, the walls stay straight, and the joints can be sealed. Porous materials need surface preparation appropriate to your silicone. Untreated cardboard is awkward if you want repeatable results: it is easy to deform and harder to assemble consistently.
Printing starts to make more sense when you already have the STL, need the same assembly again, or have an awkward shape that wastes a lot of space inside a rectangular box. You can bring the walls closer to the contour and build in separate sections and a base.
Just count the whole job. Saving a little silicone may not be worth an evening of modeling and printing. For repeated jobs, a prepared assembly can be much more useful. Either way, a printed wall is not automatically leakproof.
CraftMold handles the digital formwork part: take a suitable STL and generate printable parts around it. You still have to print, inspect, assemble, and pour.
What STL formwork software actually does
There are two different wall thicknesses
The silicone around your master and the plastic holding it in place are doing different jobs. Silicone thickness affects the finished flexible mold. Plastic thickness helps the box keep its shape. Making the plastic thicker outward does not add silicone inside it.
There is no clearance that works for every candle or figurine. Size, detail, silicone properties, and the release direction all matter. Too little material can leave a weak mold. More material costs more, and it still will not make a locking undercut disappear.
Also check scale before doing any of this. A master intended to be 60 mm tall should be 60 mm in both the design tool and the slicer. Catching a unit mistake after printing is not much fun.
A worked example, because “leave some space” is not very useful
Take a master measuring 40 × 30 × 50 mm, standing on its base. For this example, leave 10 mm on each side and 10 mm above it. That gives internal box dimensions of 60 × 50 × 60 mm up to the pour level. The 10 mm is an assumption for the math, not a universal mold-making recommendation.
- Box volume: 60 × 50 × 60 = 180,000 mm³, or 180 mL.
- Suppose CAD reports the actual master volume as 45 mL. That leaves 135 mL for silicone.
- At an assumed mixed density of 1.1 g/mL, you need 148.5 g before losses.
- Add an illustrative 10% mixing and transfer allowance and you get about 163 g of mixture.
Subtract the actual master volume, not its bounding box. A figurine does not fill every bit of the rectangle around it. Filament consumption is also the wrong number: infill changes how much plastic you use without changing the external volume displaced by a sealed master.
Now put the same master in an 80 × 70 × 60 mm box. The box holds 336 mL up to the pour level, leaving 291 mL for silicone. That is 156 mL more than the smaller box. This is where comparing a closer-fitting construction becomes worthwhile.
The weight is the total mixture, not just part A. Follow your product's A:B ratio. For a silicone requiring 100:5 by weight, 163 g of mixture would be roughly 155.2 g of A and 7.8 g of B. Do not swap a weight ratio for a volume ratio.
Try your dimensions in the silicone calculator
Dry-fit it before sealing anything
For a handmade box, put the base and walls together first. Position the master, measure the clearances, and mark the pour level. Keep the walls above that line. Secure the master so it cannot move when you start filling.
Then fasten the walls and seal the joints with a compatible material. Pay particular attention to the bottom perimeter and corners. An internal sealing bead leaves its shape on the outside of the silicone mold. That may not matter for your job, but it can matter if the mold needs to fit a rigid support shell.
For a printed box, you need the files first. In CraftMold, upload the STL, select a flat bottom, set the silicone, wall, and base thicknesses, and generate the sections. Inspect them before exporting to your slicer.
The candle example: STL to printable formwork
Look through the sliced layers. Four extrusion lines at 0.45 mm suggest a 1.8 mm wall, but that is only arithmetic. Actual toolpaths depend on the slicer, and stiffness also depends on the height and shape of the part.
After printing, dry-fit the parts again. If they only meet when forced, tightening harder is not the fix. Check for a warped base, a first-layer lip, a fit problem, or a twisted section. Bending the walls into place changes the dimensions you just worked out.
Taking the box off is not the same as getting the master out
This is an easy one to miss. Two printed sections can separate perfectly while a hooked master remains trapped in one-piece silicone.
Walk through the whole process before pouring. Remove the fasteners, take off each wall, free the base. Then what? Where does the master move? Where does the silicone have to stretch? Does a thin section need to pass over a much wider feature?
If the answer is “I’ll somehow pull it out,” reconsider the mold's parting line or the master's orientation. Adding more rigid box sections does not automatically solve the flexible mold's release problem.
Leaks and sticky silicone are separate problems
A nice-looking FDM wall can still leak between extrusion lines. Check joints against a light, inspect seams, and look at the master's attachment. After fixing gaps, make sure the sections are still where they should be.
Do leak checks over a tray. Water is an option only if it will not damage the master or assembly and you can dry everything completely afterward. It can expose obvious leaks, but silicone has different viscosity and wetting behavior, so a water test is not a guarantee.
Joint sealant, surface coating, and release agent also do different jobs. Release agent will not fill a hole. A coating will not straighten the base. Check compatibility with your actual silicone instead of reaching for an arbitrary spray. Smooth-On's Sealer and Release Agent Reference Guide has different recommendations for different surfaces and points back to product-specific instructions.
For a resin-printed master, follow the resin's washing, drying, and post-curing instructions. Some resin and silicone combinations leave an uncured layer at the contact surface. Formlabs covers preparation and compatibility in Silicone mold making and silicone part production. A small contact test with the same coatings is cheaper than finding out during a full pour.
Use the silicone supplier's mixing and demolding times. A firm top surface does not prove that the material touching the master has cured properly.
Before opening the silicone
- Dimensions and units match the intended part.
- Clearance is checked around the full relief, not just near the base.
- The master is secured, the walls stay put, and the base sits flat.
- Joints are sealed and the prepared surfaces are dry.
- Volume is measured to the actual pour level, with an allowance considered.
- You have the correct component ratio and measuring equipment.
- You know how to remove both the box and the master.
If you only have a physical object, a handmade box is a reasonable starting point. If you have an STL with a suitable flat bottom, printed formwork is worth considering. A damaged mesh, unsuitable base, or complicated undercuts need attention first; generating a box does not solve the casting process.
You can use CraftMold to inspect a formwork variant before printing it. Start with a simple master so you can see whether the workflow fits your needs without turning the first attempt into a huge project.